I was looking at doing this recently, but it was for a new app so I ended up just using the create and then reshuffling things to move the login to a different stage in the life cycle etc.
Now I've had some experience with it though, what I'd do is this:
1: Create a project using the forceios tool
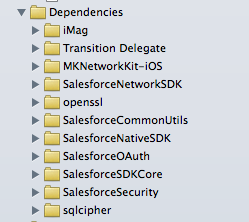
2: Copy from that project everything in the Dependencies folder to the existing project (ignore iMag, that's something bespoke to this project).

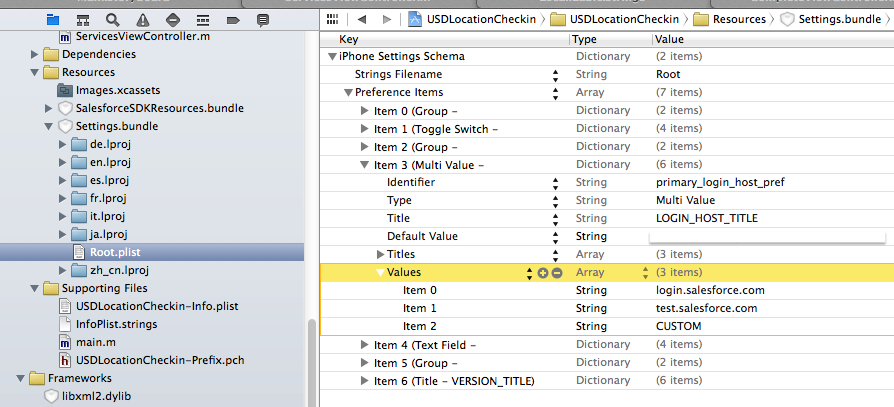
3: Copy the SalesforceSDKResources bundle, and then merge in the required parts of the Settings bundle. If this isn't customised for your app you can probably just overwrite it.

4: Compare the existing project with the forceios project to see if there's any frameworks you'll need to add.
5: After that you should be in a position to use the SDK. I created a single SalesforceManager class in my project that handles all of the interaction with the SDK:
@interface SalesforceManager : NSObject <SFAuthenticationManagerDelegate, SFUserAccountManagerDelegate, SFRestDelegate>
For reference, the way I handle initialisation and login is below. Once it's authenticated etc. you'll be able to use it as per the docs, using [SFRestAPI sharedInstance], personally I've found the blocks way of doing things to be far easier to handle than dealing with delegates.
If you get any build errors there's a chance you'll need to add some library search paths etc..
- (id)init
{
    self = [super init];

    if(self)
    {
        [SFLogger setLogLevel:SFLogLevelDebug];

        // These SFAccountManager settings are the minimum required to identify the Connected App.
        [SFUserAccountManager sharedInstance].oauthClientId = RemoteAccessConsumerKey;
        [SFUserAccountManager sharedInstance].oauthCompletionUrl = OAuthRedirectURI;
        [SFUserAccountManager sharedInstance].scopes = [NSSet setWithObjects:@"web", @"api", nil];

        // Auth manager delegate, for receiving logout and login host change events.
        [[SFAuthenticationManager sharedManager] addDelegate:self];
        [[SFUserAccountManager sharedInstance] addDelegate:self];
    }

    return self;
}

- (void)attemptLoginOnSuccess:(SFManagerLoginSuccessBlock)successBlock
                onFailure:(SFManagerLoginFailBlock)failureBlock
{
    __weak SalesforceManager *weakSelf = self;

    self.initialLoginSuccessBlock = ^(SFOAuthInfo *info)
    {
        weakSelf.authenticated = TRUE;
        successBlock();

    };

    self.initialLoginFailureBlock = ^(SFOAuthInfo *info, NSError *error)
    {
        [[SFAuthenticationManager sharedManager] logout];
        weakSelf.authenticated = FALSE;
        failureBlock();
    };

    [[SFAuthenticationManager sharedManager] loginWithCompletion:self.initialLoginSuccessBlock failure:self.initialLoginFailureBlock];
}


